From home podcasters to professionals making Grammy, Oscar, and Emmy winning content: Accentize users come from all walks of life. This article is for beginners and those who are new to recording voiceovers for podcasts or video content.
Introduction
No matter how impressive the visual aspect of your video production might be: Compromise on the voiceover dialogue track and you risk undermining even the most engaging imagery and subject matter. Unarguably, a great voiceover is absolutely intrinsic to a great video. Be it an amateur outing destined for YouTube or a fully professional effort with its sights set on Netflix.
Whether you’re delving into podcast recording or fine-tuning your voiceover skills: Understanding the nuances of dialogue recording equipment and techniques is paramount. This article explores how to record voiceovers at home. It contains an overview of the best microphones for recording podcasts and dialogue, tips for creating a home-made vocal booth, how to reduce background noise, and much more to ensure you can achieve a professional-sounding podcast recording or voiceover.
The Ideal Solution
When it comes to recording the dialogue track for your home-produced video, it’s best to hire a professional vocal recordist. You can do this via an online resource such as Fiverr or ProductionHub. We highly recommend doing so, if you can afford it. Professionals often have years of skill and experience which can help elevate your performance.
If you either can’t or don’t want to hire a professional though, here are five pointers to get you started…
Get a Good Microphone (and Audio Interface)
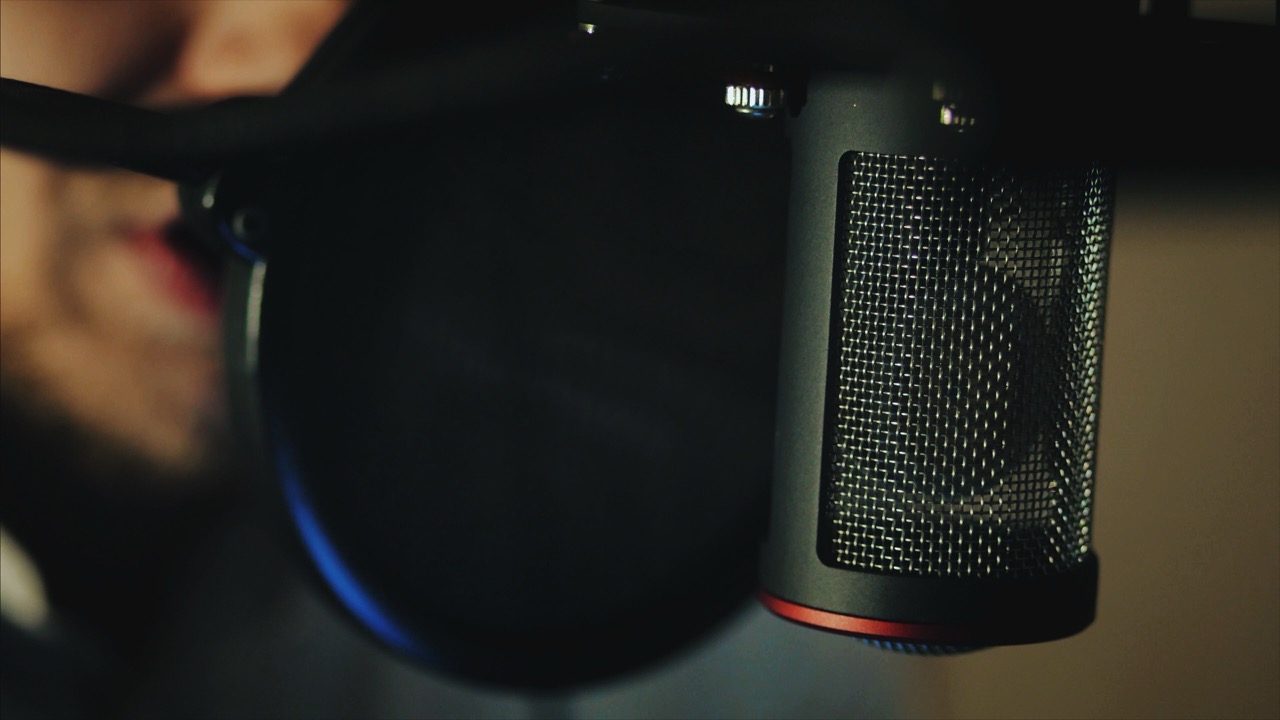
The single most important element of your dialogue recording chain is the microphone, of course. While the quality level for even minimal outlay is quite amazing these days, experience matters. The more you spend in this area, the better the results you’ll ultimately get. For recording voice tracks in the acoustically controlled environment of the home studio, we’d suggest going for a large diaphragm condenser like the Audio-Technica AT2020 or Rode NT1. Or go for a high-end dynamic model such as the influencer-ubiquitous Shure SM7B or Electro Voice RE20. Don’t forget to factor a microphone stand, a decent XLR cable and a pop shield into your budget as well.
You’re also going to need an audio interface to plug said mic into, of which there’s a bewildering array on the market these days. Reputable names to consider include Universal Audio (particularly the Volt 1), Audient (the iD 4 or EVO 4), Focusrite (Scarlett Solo) and PreSonus (Studio 24c).
Optimise the Acoustics of your Recording Space
At least as important as the microphone used to capture your or your artist’s voice is the acoustic environment in which it’s placed. Room reverberation and/or background noise can absolutely ruin an otherwise flawless dialogue track. So it’s imperative that both are kept to a minimum. Thankfully, you don’t have to splash out a fortune on fancy acoustic treatment to get the job done. A makeshift vocal booth is easily constructed by suspending a duvet or two in a cupboard or the corner of any room. Assuming you achieve total enclosure of the speaker, this will completely negate all reflections and reverb.
As for background noise, you just want to get it as low as you can. Close the curtains to minimise the incursion of traffic sounds, make sure everyone else in the house keeps it down. Move your computer out of the recording room if its fans are at all audible (for which long audio cables might be required).
Even after all that, a certain amount of noise and reverberation may be unavoidable in your particular recording space. In that case dxRevive can save the day, deploying machine learning-trained neural networks to remediate both issues (amongst others!) at the twist of a knob. Alternatively, if you need to target only noise or reverb, VoiceGate and DeRoom offer more dedicated control schemes for tackling each, respectively.
Optimise the Input Gain
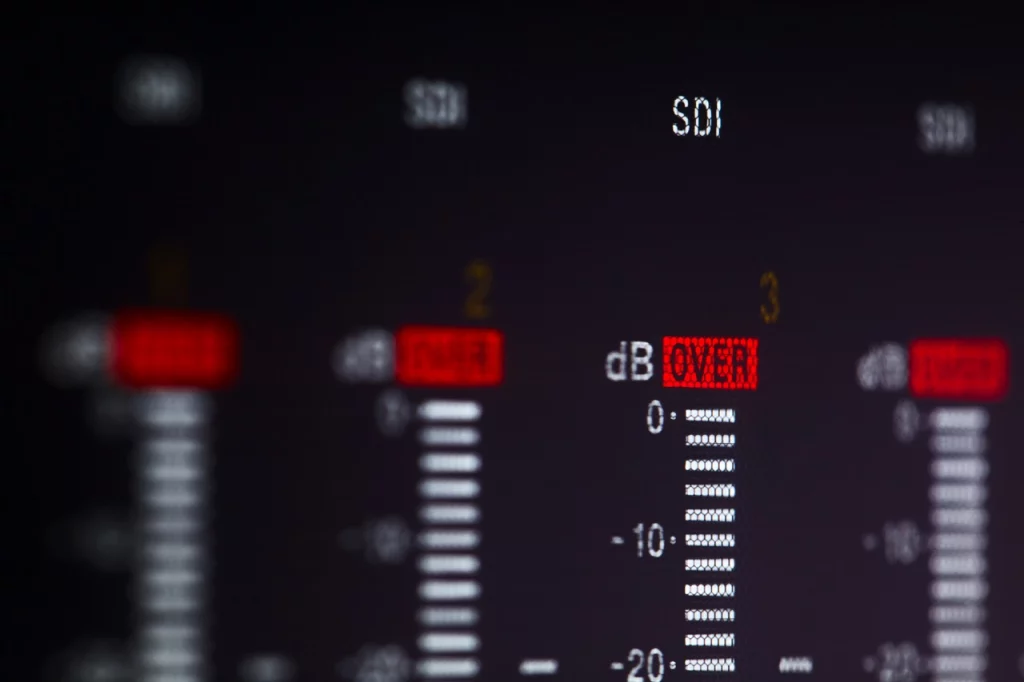
With your microphone hooked up and your recording space suitably deadened, the next stage in the dialogue recording process is setting the signal level going into your audio interface. The idea here is to get the best possible signal-to-noise ratio by maximising the volume level of the voice being recorded without clipping the interface’s analogue-to-digital converter at the loudest points in the performance, which would result in very noticeable distortion. Happily, there’s an easy rule of thumb to follow here: simply adjust the gain knob on the interface while you or your voiceover artist run through the script to achieve an average level (as reported by the input meter on your audio interface or in your DAW) of between -12 and -20dB, with the peak value (ie, the highest level reached) going no higher than -6dB. And if any clipping does somehow sneak its way into the track, and rerecording isn’t an option, the miraculous dxRevive, once again, may be able to get you out of a problem, but this is always a last resort.
Learn Good Mic Technique
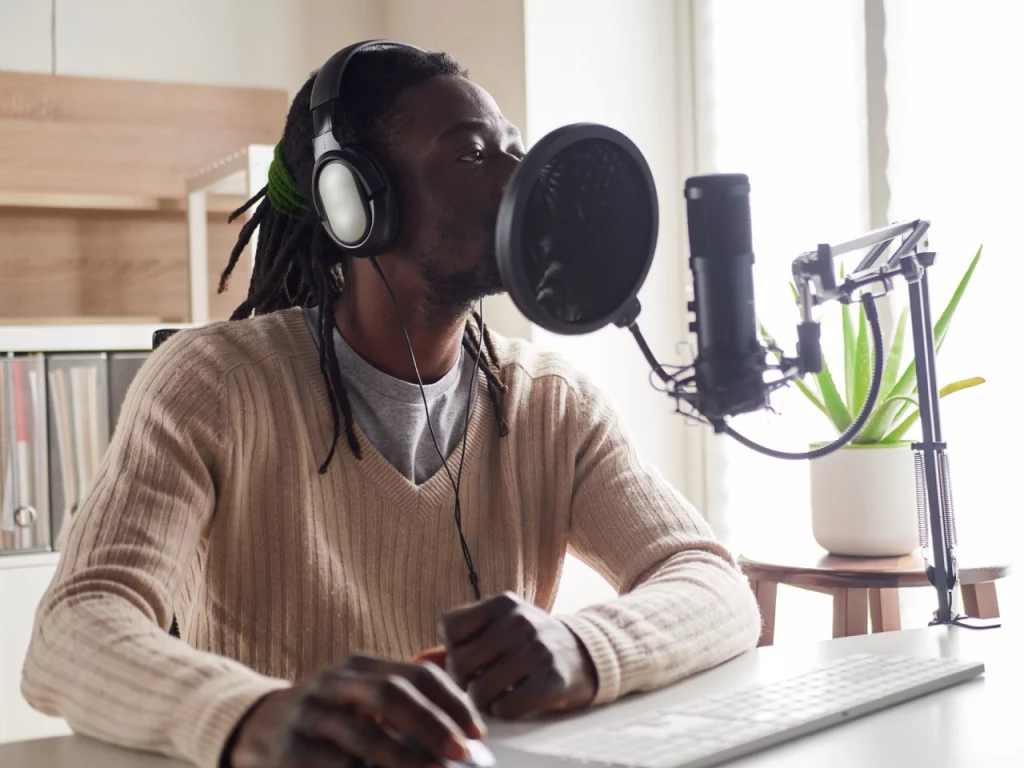
If you’re drawing on the services of an experienced voiceover artist, you can expect them to know how to handle a microphone properly. If you’re recording yourself, on the other hand, some degree of red light fever is bound to kick in the instant you hit the button – mental preparation before that point and total concentration on your microphone technique after it are essential to ensuring a clean, smooth take. There’s really not that much to the latter, though: with your pop shield in place, maintain a distance of about six inches from the microphone; don’t touch it, the stand or the cable at all; and try to keep your voice dynamically consistent and even in tone from start to finish. Don’t stop recording if you mess a line up, either, as the subsequent fiddling about in your DAW will break your flow: just repeat it as many times as you need to, then cut out all the bad takes later.
Post Processing
Once your dialogue track is in the can, so to speak, all that remains is to level off any wayward dynamics. Use compression and balance out the frequency spectrum with EQ, if required. The specifics are beyond the scope of this article. They shouldn’t be essential anyways to any well-recorded voiceover unless you’re going for a particularly colourful or extreme effect. If you want a simple solution to polish the final voiceover, we recommend DialogueEnhance.
DialogueEnhance is an intelligent automatic speech processing tool. You can use it to easily enhance the quality of your speech recordings without having to adjust many parameters. No matter if you recorded an interview in a noisy environment or with a cheap microphone – DialogueEnhance will remove the background noise. It also automatically applies an EQ and Compressor to make your recording sound professional. A useful tool for podcast and video editors!
dxRevive can prove helpful at this stage, too, with the Pro edition housing a variety of tools for tweaking the character and spectral presence of your lovingly captured VO.
A Final Word
We designed our products to help when best practise or equipment has failed, not as a substitute. When it comes to great audio, planning and prevention are always better than the cure. Follow this simple guide and you’ll be creating high quality voiceovers in no time at all.